
We may earn money or products from the companies mentioned in this post.
This article contains affiliate links. As an Amazon Associate I earn from qualifying purchases.
Planning water for a 72-hour emergency kit sounds trivial until you sit down and do the math. Most of us picture a shelf of emergency meals and a couple of bottles of water tucked beside them, and call it done.
Water is easy to underestimate: it is heavy, takes up space, and serves drinking, cooking and hygiene needs. This guide draws on official preparedness guidance, not hands-on product testing.
A solid water plan takes a little bit of math, some label-reading, and honest thinking about your household. Let's walk through it together.
How Much Water You Need for 72 Hours
Start with the CDC recommendation of at least one US gallon per person per day for three days. Account for drinking, cooking and basic hygiene within that supply; increase the total if your household needs more.
Over three days, that's three gallons per person. One person needs 3 gallons, two people need 6, three people need 9, and a family of four needs 12.
What pushes your number higher
The one-gallon figure is a planning minimum. Use it as a starting point, then assess whether your household needs more.
Several things raise your real number.
Hot weather and physical effort: People drink more when it's hot or when they're working hard, and an emergency often involves plenty of both.
Illness: Vomiting or diarrhea can quickly increase water needs, and a sick household member can burn through a day's supply fast.
Pregnancy and nursing: Include pregnancy and nursing needs in your household assessment; seek individual guidance when needed.
Children and older adults: Count every household member in the baseline rather than automatically reducing it for children. Ask a healthcare provider about individual hydration or medical requirements.
Pets: Animals get forgotten more than almost anything else in a kit. Your vet can tell you roughly how much water your animals need per day, and you add that to the household total.
For food choices, see our beginner emergency food kit guide and Mountain House 72-hour kit review.
| People | US gallons | Approximate liters |
|---|---|---|
| 1 | 3 | 11.4 |
| 2 | 6 | 22.7 |
| 3 | 9 | 34.1 |
| 4 | 12 | 45.4 |
The Water Your Food Quietly Uses
Most beginners miss this part, and it's the most interesting piece of the whole puzzle. Many emergency meals, especially pouch meals and freeze-dried options, require water.
The amount varies by product, and it isn't printed on the front of the package where you'd expect it. Don't guess your cooking water from the serving count on the box.
A package that advertises a number of servings tells you nothing about how much water those meals take.
Use the current package preparation instructions or the manufacturer's verified instructions for that exact product.
The heat question
Plenty of pouch meals want hot or boiling water, which means you need a way to heat it. That means you also need suitable equipment and fuel. Never use a portable camping stove inside a home, tent or camper. Follow the equipment instructions and keep combustion exhaust away from doors, windows and vents.
Plan backward from the food. Add up the preparation water for your actual menu, then check whether drinking, cooking and hygiene together fit within your stored total. Cooking water is already part of the baseline: do not automatically count it twice.
Here's a hypothetical example, and the numbers are illustrative only, so check your real labels. Say a household of two plans six pouch meals over three days, and each label calls for about one cup of water.
That is six US cups, or 0.375 US gallon (about 1.4 liters), for food preparation. This example illustrates water use only; it is not a complete three-day menu.
If taking it out of the six-gallon baseline leaves too little for drinking and hygiene, you add more water.
You can reduce this by mixing in ready-to-eat foods that need no added water, such as canned or pouch items you can eat as-is. They cut your preparation water and make the whole plan simpler.
Remember hygiene and medical needs
Include teeth brushing, handwashing and essential cleaning in your allocation. Ask healthcare providers about water requirements for medications or medical devices: some require a specific type of water, not ordinary stored drinking water.
For formula-fed infants, CDC recommends ready-to-feed formula as the safest emergency option. If powdered formula is needed, follow current preparation instructions and never dilute it to stretch supplies.
Choosing the Right Containers
You have two main routes here: commercially bottled water and refillable food-grade containers. Each has real strengths, and plenty of households use both.
Bottled water: It's easy to grab, needs no cleaning, comes in single-serve sizes that are simple to share, and has a printed expiration date so you always know where you stand. The downside is that it can be bulky and awkward to stack.
Refillable food-grade containers: Some designs offer efficient storage and stacking; compare total cost, capacity and handling before buying. The tradeoff is that you have to clean and sanitize them before filling, and you're responsible for dating and tracking them.
Large jugs are heavy. A full five-gallon jug is genuinely difficult for a child or an older adult to lift and pour.
The best container is the one you can actually lift and pour, because a perfect storage plan that nobody in your household can use doesn't help anyone.
To compare shopping options, browse drinking-water storage containers on Amazon. Confirm the manufacturer explicitly identifies the container as suitable for drinking water, and check its cleaning directions, filled weight, and dimensions before choosing.
Safety rules for any container
Use food-grade containers only, and never reuse a container that once held toxic chemicals. Prefer containers designed for drinking-water storage and follow their cleaning and reuse instructions.
Before filling any refillable container, follow the CDC cleaning and sanitizing instructions, and check their site for the latest steps.
A practical middle road is to mix sizes. Keep a few large containers at home for your main supply, and several small ones that are easy to grab if you have to leave in a hurry.
Where and How to Store Your Water
Choose a cool interior location out of direct sun and away from fuel, solvents and pesticides. Protect containers from freezing, flooding and damage. A low closet shelf may be easier to access than a high shelf or hot garage.
Keep caps closed and dispense without touching the water or the inside of the container. Follow the container manufacturer’s storage and stacking instructions.
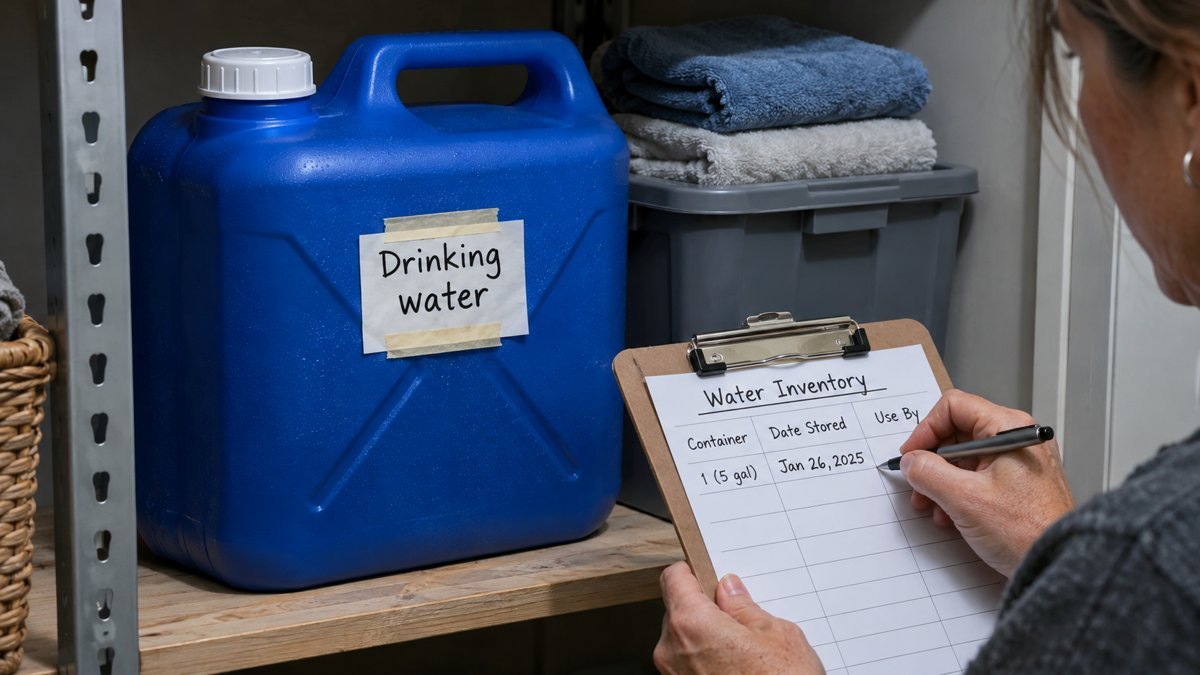
Rotating and Labeling Your Supply
Here's the rule from the CDC that everything else hangs on. Replace self-filled stored water every six months, and observe the expiration dates on store-bought water.
Once you build the habit, it's easy to follow.
Stop relying on memory. Write the fill or purchase date and the words "drinking water" on every container, so anyone in your household can read it at a glance, even under stress.
Keep a simple inventory list with dates, and set a recurring calendar reminder.
Set a reminder exactly six months after filling each container; daylight-saving clock changes do not always fall six months apart.
I'd also read marketing claims with some skepticism. Some products advertise extremely long shelf lives, so compare those claims to what the CDC says before you trust them.
Home Storage Versus Evacuation
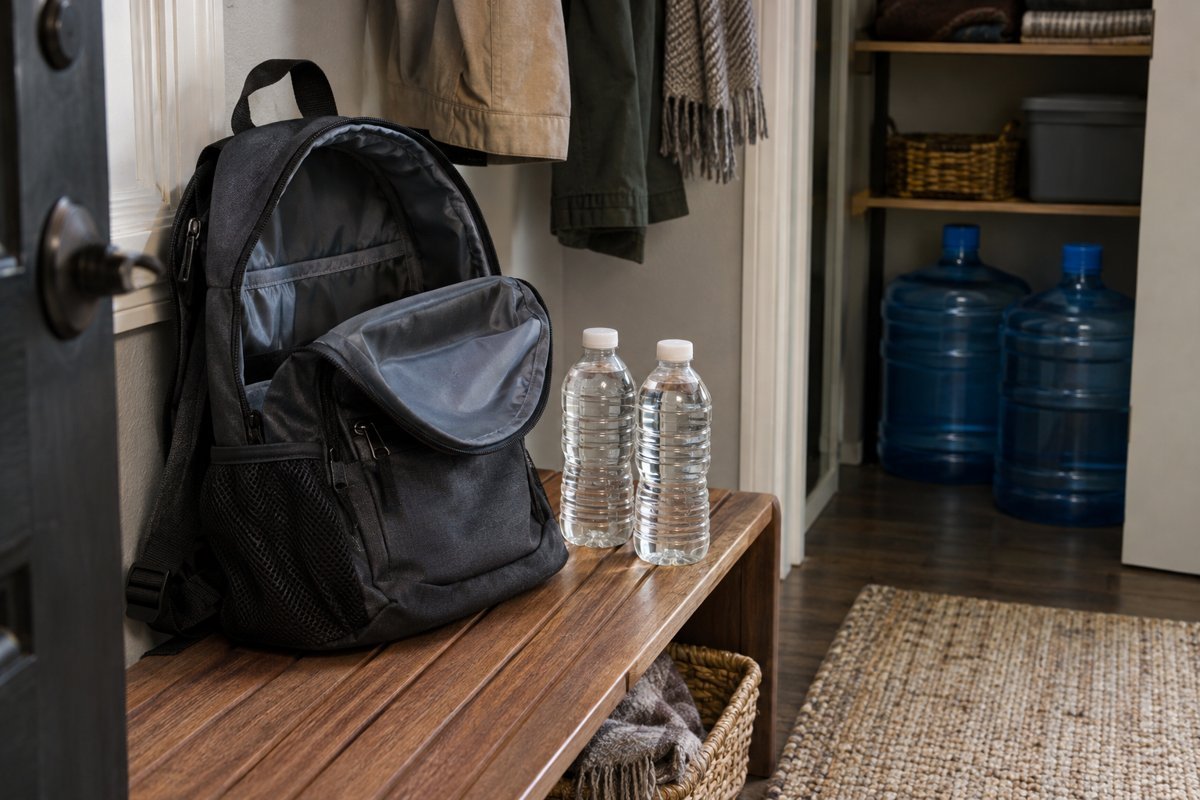
This is where your plan gets tested against physics. A gallon of water weighs about 8.34 pounds, so three gallons come to roughly 25 pounds before you count the containers.
For a family of four, that's about 100 pounds of water for a three-day baseline.
That number is the reason you need two separate plans. What you can store at home and what you can carry on foot are completely different quantities.
At home, store your full calculated supply.
When you have to move, pack smaller portable bottles that each person can realistically carry, and don't expect a go bag to hold your whole water plan.
If you have a vehicle, you may be able to carry more, but I wouldn't assume the car will be available or usable. Heat inside a parked car can also affect stored bottles, so don't leave your only supply baking in the back seat.
Think hard about who can do what. Ask who in the household can lift, carry, and pour each container.
If someone has limited mobility, heavy water may not be an option, and the plan has to account for that.
Do a quick heavy-lifter audit. Walk through each container and name the person who would carry it.
If the answer is nobody, swap it for something smaller.
Resupply deserves honesty too. In a widespread disaster, shops can empty quickly, and roads can be blocked. Decide where you might realistically get more water, but don't count on it.
Backup Water Safety: Filters, Boiling, and Disinfectants
Backup methods are valuable, but each has limits, and understanding those limits is what separates a good plan from a false sense of security.
Filters: They remove some contaminants, but not every filter handles every contaminant. Some don't remove viruses, chemicals, or salts, so check the product specifications before you trust one.
A filter also needs a source to work from, so it can't stand in for a water supply.
Boiling and disinfectants: Boiling addresses germs. Disinfectants such as unscented household bleach or purification tablets also address germs, and the instructions depend on the specific product, so follow the current CDC guidance and the manufacturer's directions.
Boiling and disinfecting do not make water contaminated with fuel or toxic chemicals safe. If chemicals have tainted the water, no amount of boiling will fix it.
That's exactly why a stored supply matters.
Local advisories can also change what's safe. Boil-water advisories are fairly common, often following main breaks, and they address germs rather than chemicals.
Follow the exact local advisory: a boil-water notice, a do-not-drink notice and a do-not-use notice have different requirements.
Step-by-Step: Building Your Water Plan
Let's turn all of this into a process you can finish in one sitting.
Step one: Count your household, including every person and every pet. Multiply people by three gallons for your three-day baseline, then add your pets' needs based on your vet's recommendations.
Step two: Add the special adjustments. If you live somewhere hot, have someone who is nursing, pregnant, or ill, or have medical needs that involve water, bump your total up.
Step three: Tally food-preparation water within your total; increase storage if drinking, cooking and hygiene needs exceed it. Read the label on every meal you plan to stock and add up the water each needs. If you rely on hot water, make sure your fuel and heat source are in the plan.
Step four: Choose your containers. Decide how much will be bottled and how much will be refillable, and match sizes to the people who will handle them.
Clean and sanitize refillable containers following the current CDC steps.
Step five: Pick a storage spot that's cool, dark, chemical-free, above any flood risk, and free of temperature extremes.
Step six: Label and date everything, start an inventory list, and set a six-month reminder.
Step seven: Build your evacuation layer. Decide what each person can carry, and pack smaller portable bottles separate from your home supply.
Step eight: Add backups such as a filter, purification tablets, or both, and make sure you understand what each one can and can't do.
Frequently Asked Questions
How much water do I need for a 72-hour emergency kit?
Plan on at least one gallon per person per day, which is three gallons per person for three days. Add more for pets, hot weather, illness, nursing, and food-preparation needs that are not adequately covered within your baseline.
Is one gallon of water per person per day enough?
It's the baseline the CDC and Ready.gov recommend, and it covers drinking, cooking, and basic hygiene. Heat, activity, illness, and pregnancy can push your real needs higher.
How long does stored emergency water last?
The CDC says to replace self-filled water every six months and to follow the expiration date on store-bought bottles. Write the fill date on every container so you never have to guess.
Can I store water in old milk jugs?
Prefer durable food-grade containers designed for drinking-water storage rather than repurposing thin dairy packaging. Follow the container manufacturer's instructions.
How do I clean and sanitize water storage containers?
Follow the current CDC instructions for cleaning and sanitizing before you fill any refillable container. Check their website for the latest steps, since guidance can change.
Does boiling water make it safe to drink in an emergency?
Boiling addresses germs, but it does not remove fuel or toxic chemicals. If you suspect chemical contamination, boiling won't fix it.
Can a water filter replace stored water?
No, because a filter needs a water source to work, and some filters don't remove viruses or chemicals. Treat it as a backup that complements your stored supply.
How much water does a dog need in an emergency?
It depends on the animal's size and the weather, so ask your vet for a daily figure and add it to your household total.
How do I store water in a small apartment?
Use stackable containers in a closet, under a bed, or in a utility corner, and spread the supply across several spots. Keep it away from chemicals and out of direct sunlight.
Is bottled water or a refillable container better for emergency storage?
Each works well. Bottled water needs no cleaning and has a printed expiration date, while suitable refillable containers offer reusable storage and may stack efficiently, depending on their design.
Key Takeaways
Start with at least one gallon per person per day for three days, treat it as a minimum, and add extra for heat, illness, nursing, pets, and medical needs. Check your food's preparation instructions and ensure that water is accounted for within the total, increasing storage when needed. Store water in food-grade containers in a cool, dark, chemical-free place, label and date everything, and replace self-filled water every six months. Plan home storage and evacuation separately, since three gallons weighs about 25 pounds, and treat filters, boiling, and disinfectants as backups that cannot fix fuel or chemical contamination.
Your final water checklist
- Count people and pets.
- Check drinking, cooking and hygiene allocations.
- Allow for individual needs and conditions.
- Choose containers everyone can handle.
- Label supplies and set replacement dates.
- Plan home storage and evacuation separately.
- Keep current treatment instructions and local advisory information accessible.
Sources and review method
Reviewed November 3, 2026. This is a researched preparedness guide, not a product test. Household quantities and weights are calculations, not measurements of a tested kit.